The leave report provides a clear view of leave activity across teams, helping administrators monitor leave balances, approvals, and trends.
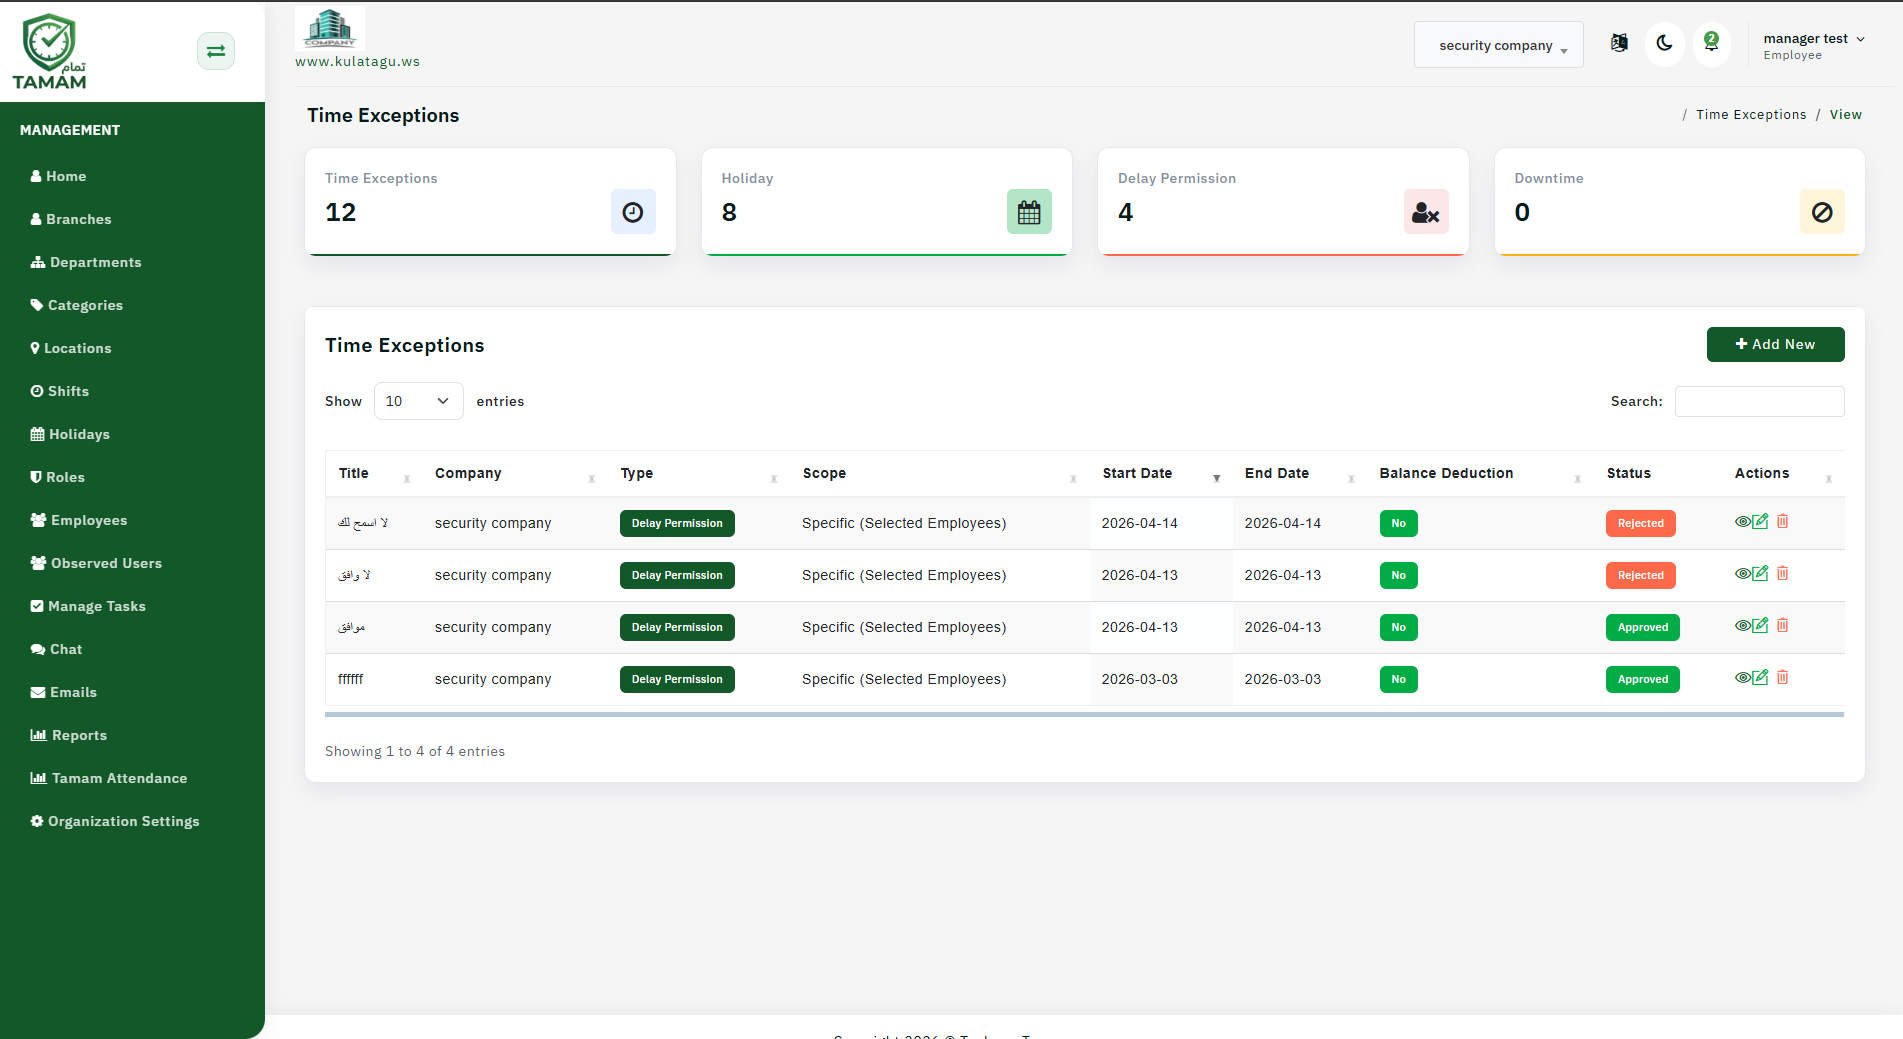
Step 1: Open the Leave Report
From the Tamam dashboard, navigate to Reports and choose Leave Report. This brings up the interface for leave tracking and reporting.
Step 2: Select Date Range
Choose the period you want to analyze. You can view data for a week, month, quarter, or a custom date range to see leave behavior over time.
Step 3: Apply Filters
Filter the report by department, location, employee group, or leave type. This helps surface the most relevant records for your review.
Step 4: Review Leave Details
Check totals for approved, pending, and rejected leave. Look at individual employee leave entries, balances, and planned absence dates.
Step 5: Export or Share
Export the leave report to Excel or PDF. Use the output to share with HR partners or to store in your internal attendance documentation.
Tip: Use leave report insights to identify periods of high leave usage and adjust staffing or policies before coverage issues appear.